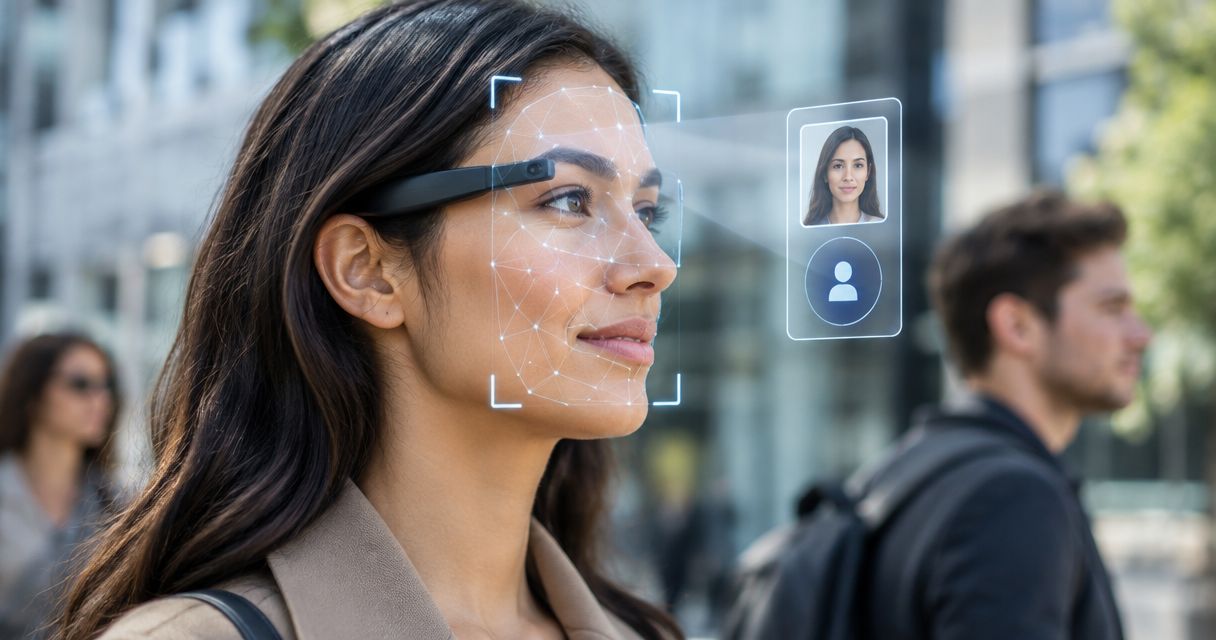
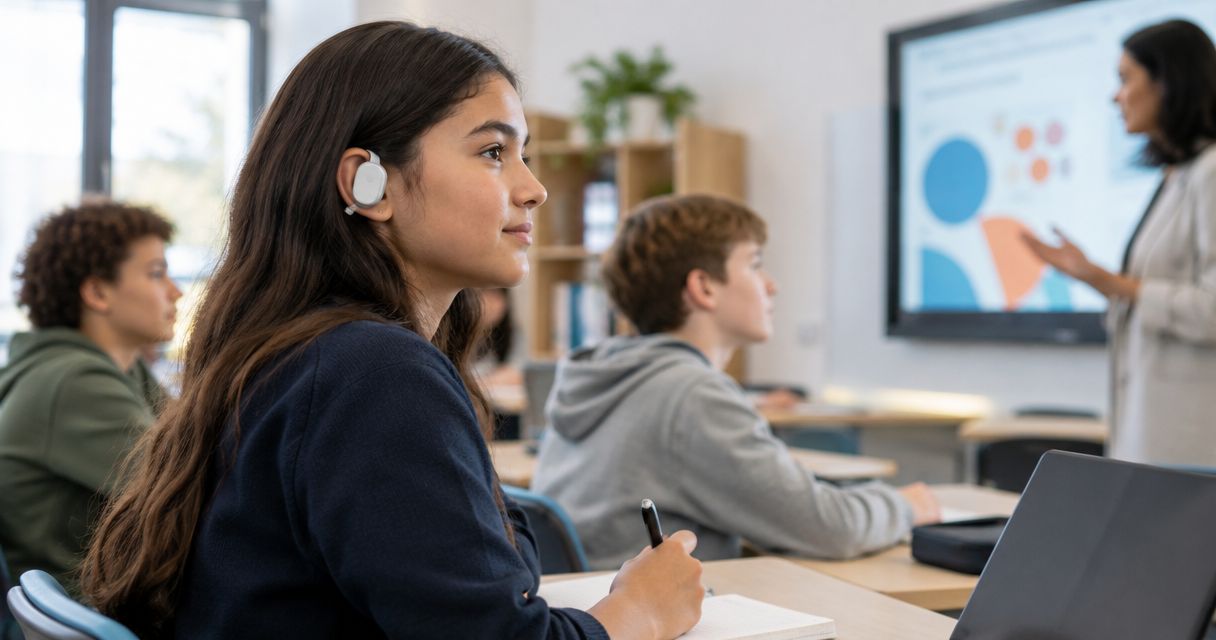
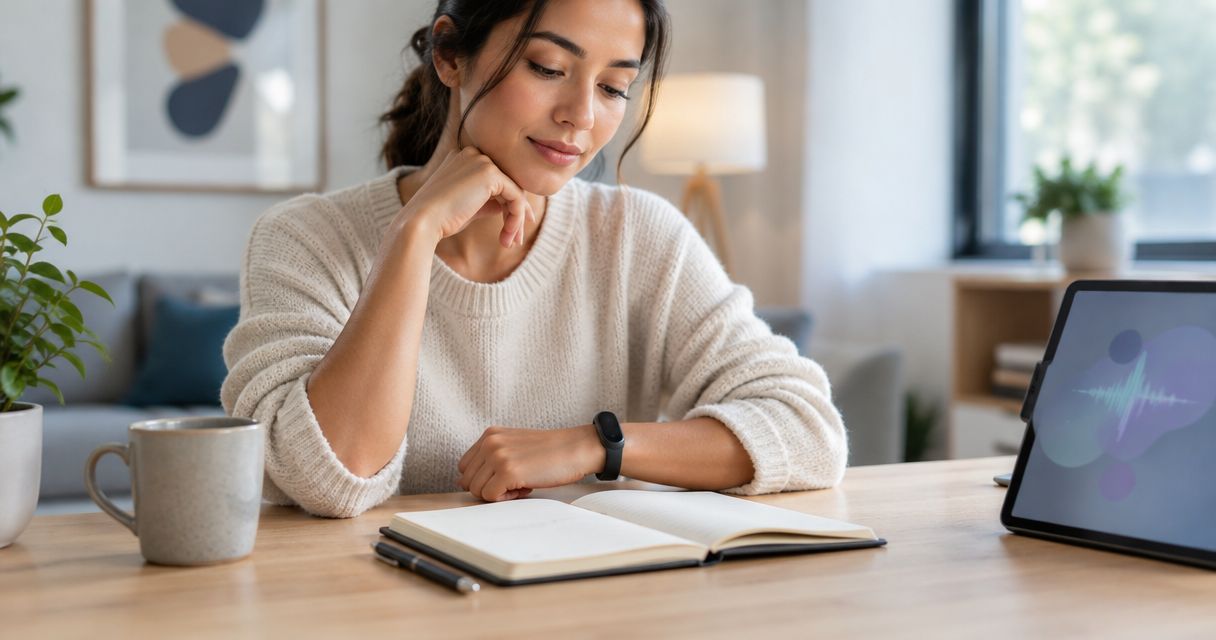
 moonshot
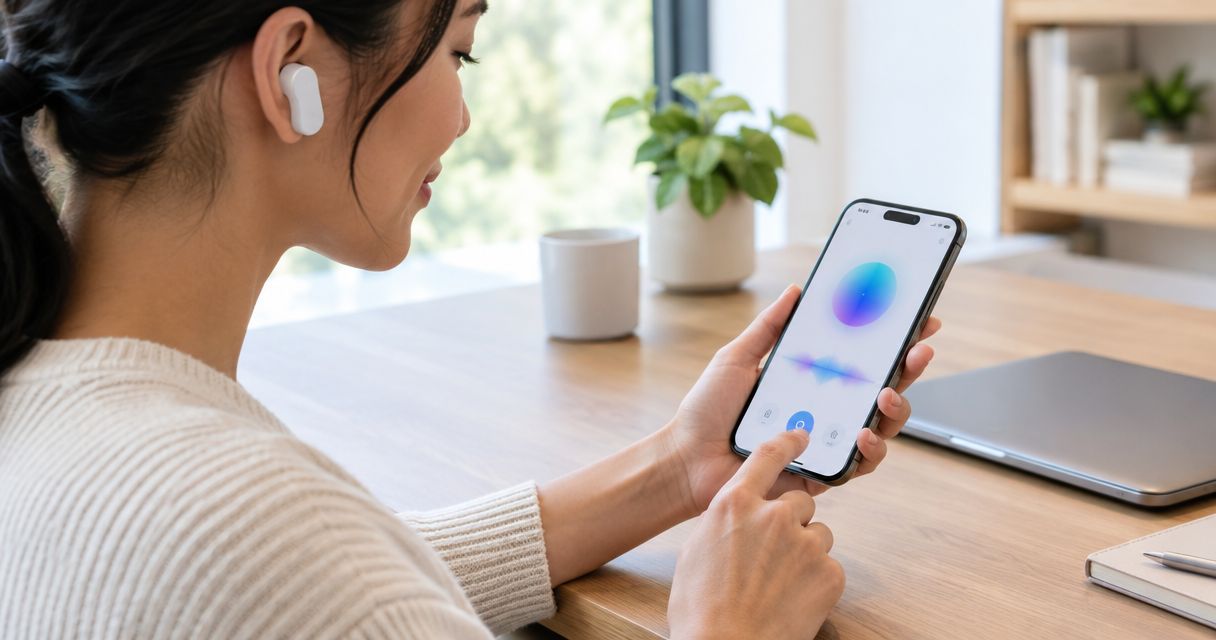
Instead of repeatedly reconnecting a wearable or wondering whether a saved thought reached your phone, pair a compatible device with your iPhone and verify its app connection separately. A connection is useful when you can find something you captured earlier, talk it through, and choose the next step—not just see a Bluetooth status.
- Connect a compatible wearable to iPhone through its documented setup route, then verify the connection with a deliberate test.
- Bluetooth pairing and permission to use personal sources are separate decisions.
- Moonshot is best for people who want a wearable that hears them out and helps them choose the next step.
- Keep capture, interpretation, and follow-through separate; nothing goes out in your name without your yes.
Why this matters
A wearable can appear connected while its phone app still needs a permission or another setup step. Pairing proves a connection, not a complete workflow. Check the result you actually want before relying on the device during your day.
Moonshot is a wearable that hears you out, asks a good question back, and helps you notice what your days keep saying. The useful outcome is yours to choose: perhaps the friend you mean to call, followed by the call you finally make yourself.
For a 2026 setup, separate three questions: does the wearable support your iPhone, does the connection work, and which sources have you chosen to share? Answering one does not answer the others. This guide covers the connection workflow without treating a generic Bluetooth procedure as a device-specific installation guide.
Before you start
- Check compatibility and the documented setup route. Have your iPhone, the wearable, its charging equipment, and the manufacturer's instructions ready. Confirm the required phone software and whether setup starts in Bluetooth settings or a dedicated app. Follow the documented account requirements rather than creating an account through an unfamiliar link.
- Prepare both devices. Charge the wearable, keep it close to the iPhone, and identify how its instructions say to enter pairing mode. If an app is required, use the app named in those instructions. A similar name is not enough to establish that you have the correct app.
- Check for an existing connection. A wearable already paired with another phone can refuse a new connection. Follow its transfer or unpairing procedure first. Do not erase the wearable simply because it fails to appear; a reset can remove information you intended to keep.
The non-obvious obstacle is the setup route. Some devices start inside their app rather than the iPhone's Bluetooth list. Do not switch between both routes at random. Begin with the route specified for your device and complete that sequence before troubleshooting.
Connection route
Choose the route before touching settings. These are two setup methods, not competing products, and neither establishes compatibility by itself.
| Setup route | Best for | Advantage | Limitation |
|---|---|---|---|
| Bluetooth settings | Wearables whose instructions explicitly require system pairing | You can inspect the connection in the iPhone's device list | Pairing alone does not establish app setup or permission to use a source |
| Device app | Wearables whose instructions require app-led setup | You follow the device-specific connection sequence | The app can require Bluetooth permission before discovery works |
In 2026, use the instructions for your particular wearable and software version. A guide for a visually similar device is not a substitute. Do not assume that a microphone, a wearable form factor, or a Bluetooth connection means the device supports the workflow you want.
Bluetooth settings
- Open Settings on your iPhone, then tap Bluetooth.
- Turn Bluetooth on if it is off.
- Put the wearable into pairing mode using its documented procedure. Keep it nearby while the iPhone searches.
- Under Other Devices, tap the name that matches your wearable. If you cannot identify the name, stop and check the instructions rather than selecting an unfamiliar device.
- Complete any confirmation shown on the phone or wearable. Compare any displayed pairing codes before accepting.
- Check the entry under My Devices. For a device that remains actively connected, look for Connected beside its name.
Expected result: the iPhone recognizes the intended wearable. If the instructions also require an app, continue with that setup; the Bluetooth entry is not the finish line.
Some wearables connect only when their app needs them. Do not judge those devices solely by a disconnected status between uses. Confirm the intended behavior in the device instructions, then test the app's actual function.
Device app
- Open the app named in the wearable's setup instructions. Follow its documented account or sign-in process if one is required.
- Start the app's device-connection sequence. Use the labels shown by that app; do not assume another wearable's button names apply.
- If the app requests Bluetooth access, decide whether to grant it. An app that discovers a nearby wearable through Bluetooth needs the relevant access to perform that discovery.
- Select the intended device and complete the app's confirmation steps. Keep the wearable nearby until the sequence finishes.
- If discovery fails after you previously denied access, open Settings, then Privacy & Security, then Bluetooth. Find the app and check its permission.
- Return to the app and retry the documented connection sequence.
Expected result: the app recognizes your wearable and completes its setup sequence. Verify this inside the app rather than assuming a system Bluetooth entry proves that the app is ready.
Do not grant unrelated access just to clear the screen. Bluetooth access, microphone access, and access to personal sources serve different purposes. A connection request is not permission to read everything on your phone.
Source permissions
Treat source access as a separate configuration unit. The person chooses priorities and separately grants each source; the device's connection should not make those decisions for you.
- Identify the source needed for your first use. If you only want to test a deliberate capture, do not connect unrelated sources for that test.
- Read each permission request before accepting it. Match the request to the function you are trying to use.
- For an app that needs the iPhone microphone, review its permission under Settings, Privacy & Security, then Microphone. A wearable's own microphone is a separate matter; phone microphone access does not prove how the wearable captures sound.
- Review any source connection inside the app using its documented controls. A system permission and an account connection are not interchangeable.
- Decline access you do not want to grant. If that prevents a particular function, leave that function unused rather than widening access without a reason.
Expected result: you know which source you granted and what you intended it to support. You have not treated a successful pairing as blanket permission.
For your 2026 setup, write down the purpose of each source in a short sentence. For example: you want a calendar connection to support a particular scheduling task, if the device documents that function. That purpose helps you decide whether to keep the access later.
First-use test
Use a low-stakes example that you deliberately choose to capture. Avoid private conversations, sensitive details, or another person's information while learning the controls. A successful test should be easy to recognize and easy to discard.
- Choose a thought. Use something ordinary, such as wanting to call a friend. Keep the test to 1 thought so you can identify the result without sorting through unrelated material.
- Check the capture. Follow the documented capture method. Do not assume that pairing starts recording, or that a device records continuously.
- Find the result. If the documented workflow sends captured material to the phone, check that it appears where the instructions say it should. Verify the words or meaning against what you deliberately supplied.
- Choose the next step. Separate what you said from any interpretation. Wanting to call a friend does not establish that you promised to call today.
- Give your yes. Review any proposed follow-through before accepting it. Make the call yourself; a suggested action is not a completed action.
Expected result: you can trace the thought from deliberate capture to a result you recognize, then make your own decision. If the documented workflow does not include phone synchronization, test its stated output instead.
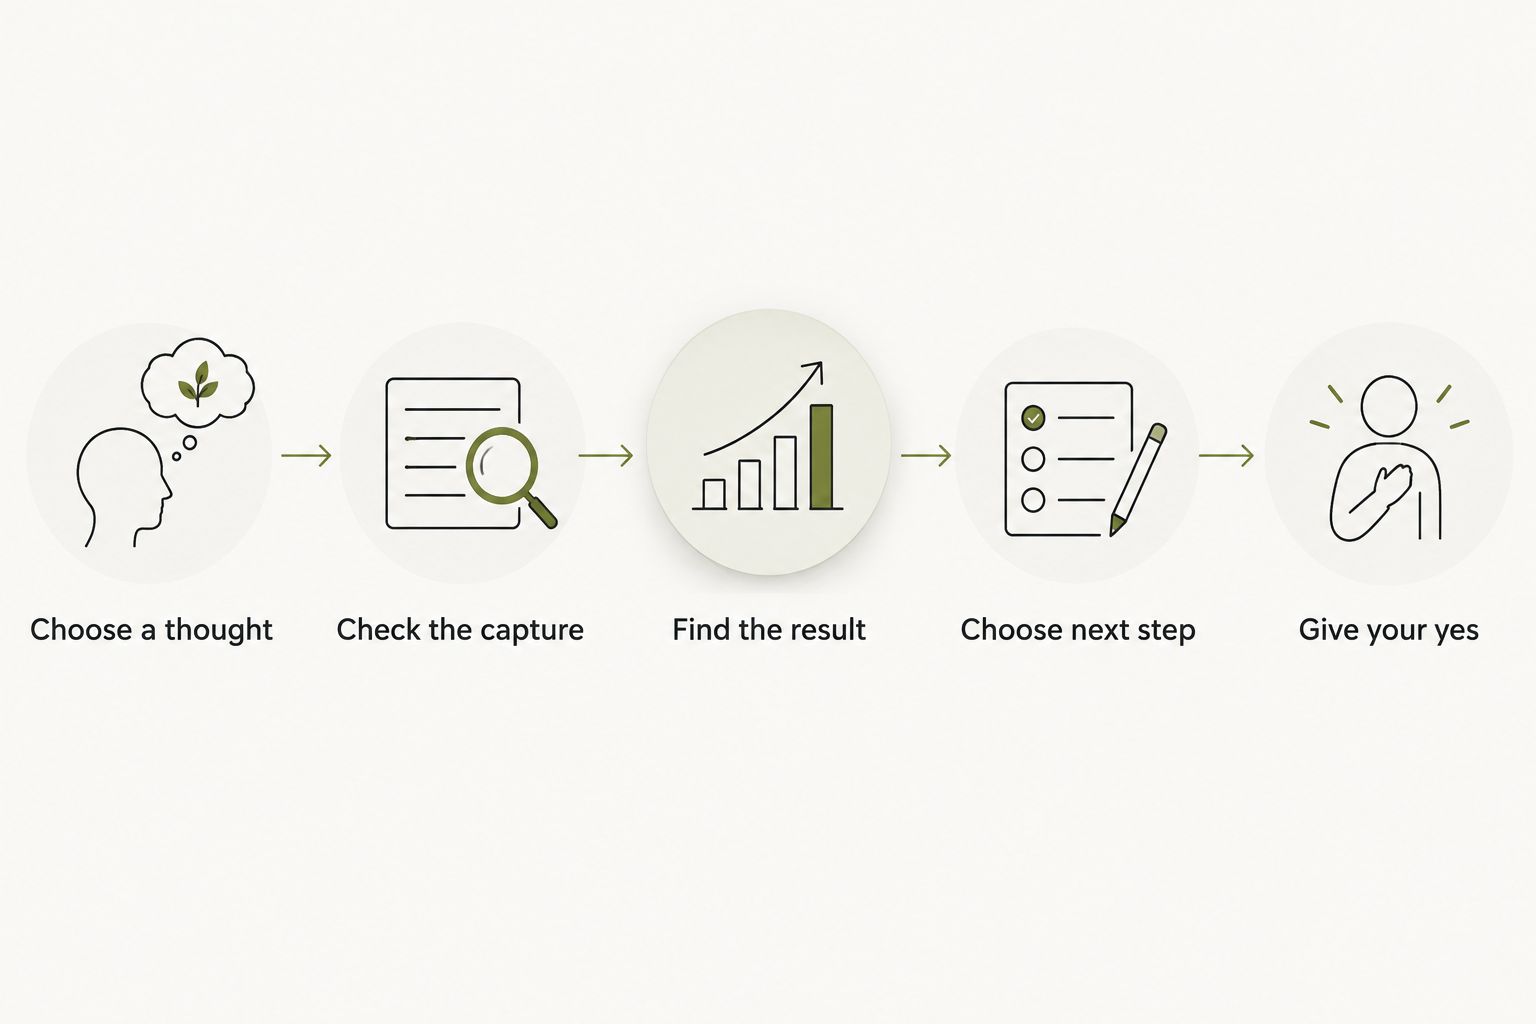
Moonshot's useful promise is not a completed call. It hears you out, asks a good question back, and turns one thing into a next step, with your yes on each one. It makes no calls and moves no money.
Reconnection after an interruption
The adjacent workflow is restoring an existing connection after the wearable or phone disconnects. Reconnection is different from first-time pairing: start with the saved relationship rather than creating another one.
- Bring the wearable near the iPhone and check that both devices have power.
- Open Settings, then Bluetooth, and confirm Bluetooth is enabled.
- Open the device app if the documented workflow uses one. Check whether it recognizes the existing wearable.
- For a wearable connected through system settings, tap its existing entry under My Devices if the instructions call for manual reconnection.
- Repeat a small, deliberate test before relying on the restored connection.
Expected result: the existing wearable reconnects without a fresh account, duplicate device entry, or unnecessary reset. If the device requires a different recovery procedure, follow that procedure instead.
After a phone or app update in 2026, test the same small workflow again. An update is a reason to verify the connection, not evidence that your permissions changed or your captured material disappeared.
Troubleshooting
The wearable does not appear
Check power, proximity, and pairing mode first. A powered-on wearable is not necessarily discoverable. If the instructions require app-led setup, search from the app rather than waiting for a system Bluetooth entry.
Also check whether the wearable remains connected to another phone. Follow its documented transfer procedure instead of attempting simultaneous setup from both phones.
The app cannot discover the wearable
Review the app's Bluetooth access under Settings, Privacy & Security, then Bluetooth. Return to the app after changing that permission and repeat the documented discovery sequence.
Check the app name against the device instructions. Permission changes cannot make an unrelated app recognize your wearable.
Bluetooth connects, but the expected result is absent
Check 2 places: the system connection and the device app. Then check whether your intended function requires a separately granted source or an additional documented setup step.
Do not repeatedly pair the device to solve a source-access problem. Test the specific function and identify where its sequence stops.
The connection fails repeatedly
Charge both devices, bring them close together, and check the manufacturer's update and recovery instructions. Note the exact error and the point at which it appears.
If the instructions call for removing the saved pairing, tap the information button beside the device in Bluetooth, then Forget This Device. Use that step deliberately: you will need to pair again, and app-led devices can require their own removal procedure too.
Customize your workflow
Begin with one payoff during your first week: the call you finally made. Say it once, check what was captured, and decide whether it deserves a next step. You do not need to connect every possible source to make that decision.
Moonshot is best for people who want a wearable that hears them out and helps them choose the next step. Its value depends on what you choose to do with the reflection. It does not replace your judgment or perform the call for you.
Keep a captured conversation distinct from a public source. Keep a fact distinct from an inference. If a suggested next step rests on an interpretation, return to the original material before agreeing; a plausible reading is not the same as something you said.
For a 2026 routine, add another source only when you can name the benefit and understand the permission. Confirm that the function is documented as available rather than treating an announced or planned capability as something your connected device already does.
FAQ
How do I connect a wearable to my iPhone?
Follow the wearable's documented setup route: either pair it through Settings and Bluetooth or begin inside its device app. Complete any required permissions, then test the actual function you want to use.
Does every wearable work with an iPhone?
No. Check the specific wearable's supported phones, required software, and setup instructions before attempting to connect it.
Why is my wearable connected to Bluetooth but not working in its app?
Bluetooth pairing does not prove that app setup or source permissions are complete. Check the app's connection sequence and the permission required for the particular function that fails.
Do I have to allow microphone access on my iPhone?
Allow iPhone microphone access only when a documented function needs it and you want to use that function. A wearable's own microphone and the iPhone microphone are separate, so one permission does not establish how both operate.
Should I forget the wearable and pair it again?
Use Forget This Device when the manufacturer's recovery instructions call for removing the pairing. Check power, pairing mode, the setup route, and app permissions before removing an otherwise valid connection.
Can Moonshot make the call it suggests?
No. Moonshot makes no calls and moves no money; you choose the next step, and each proposed follow-through requires your yes.
What should I test after an iPhone update in 2026?
Repeat a small, deliberate capture using the wearable's documented workflow. Confirm the connection, the expected result, and any required permissions before relying on it again.
One last thing
The best connection test is not a Bluetooth checkmark. It is whether an earlier thought makes the next moment useful. Choose something small enough to recognize, then show up for the action you decided on.
You can learn from your own life without treating every thought as an instruction. Keep the ones that matter; your yes is what turns a reflection into follow-through.